

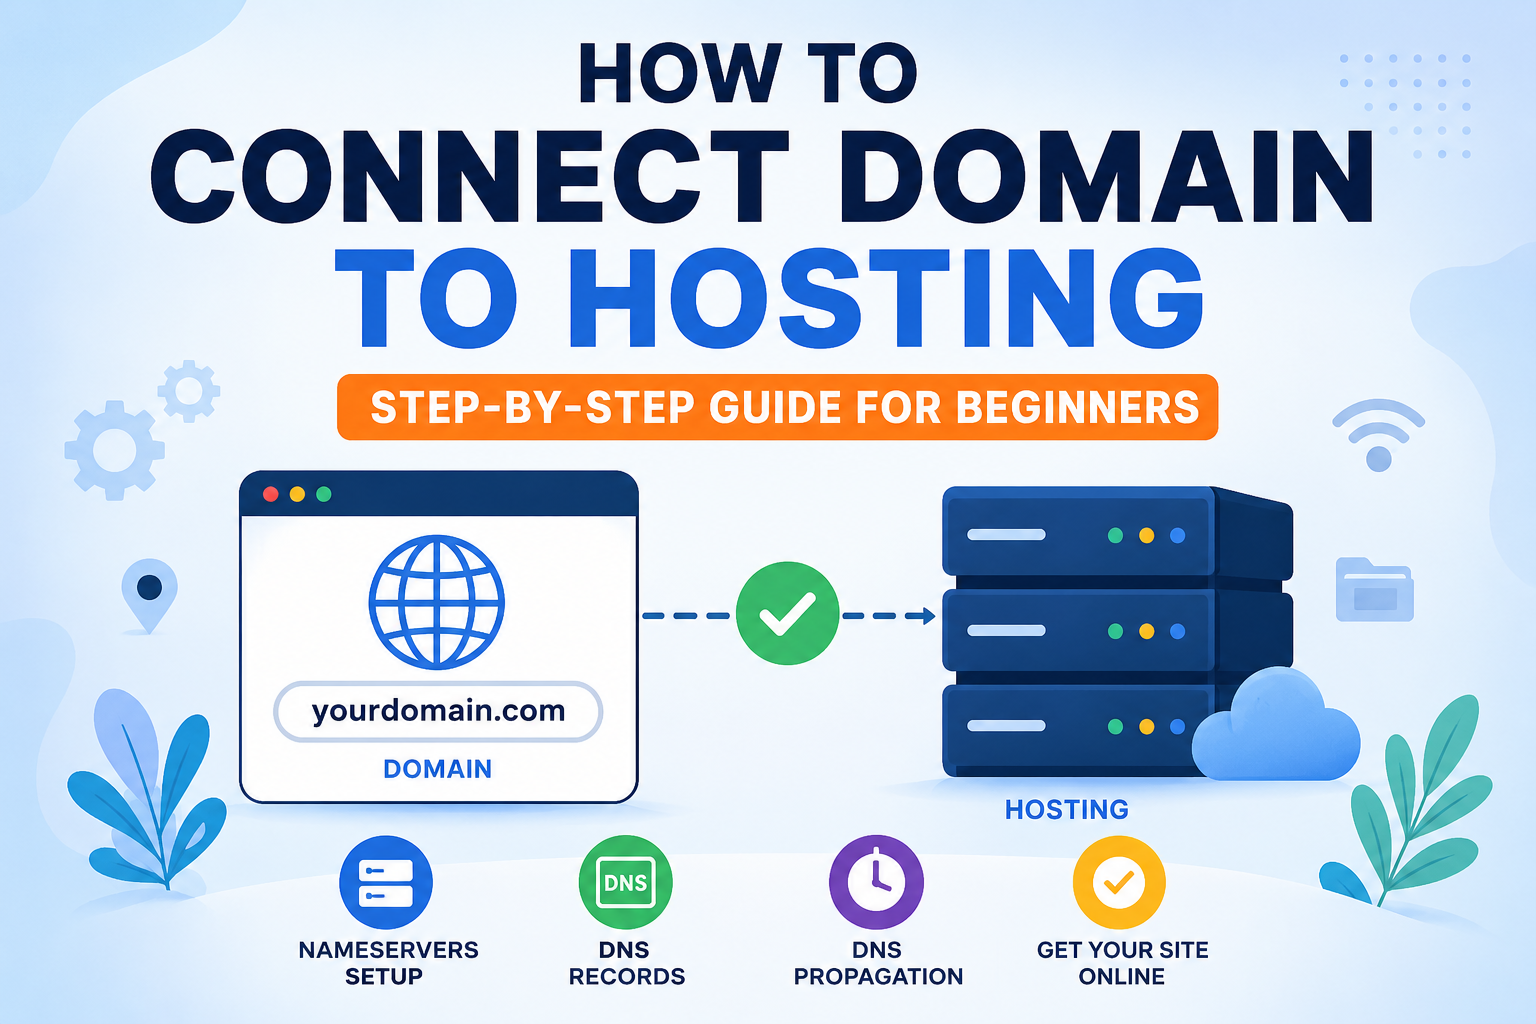
If you’ve just bought a domain and hosting separately, you might be wondering , how do you connect a domain to hosting? Don’t worry, it’s easier than it sounds. This guide will walk you through the entire process in simple steps, even if you’re a complete beginner. By the end of this guide, you’ll know how to connect your domain using nameservers or DNS records and get your website online with confidence.
Before we jump in, let’s quickly understand the two:
A domain is your website’s address , like yoursite.com. It’s what people type in the browser to find you.
Hosting is the server where your website’s files actually live.
Think of it this way: your domain is your home address, and your hosting is the actual house. To make a website work, you need to link the address to the house.
When you buy a domain from one provider (like GoDaddy or Namecheap) and hosting from another (like Hostagle), they don’t automatically know about each other. You need to manually point your domain to your hosting server. This is done using something called nameservers or DNS records, which tell the internet where your website is hosted.
This is the most common and easiest method.
Log in to your hosting account (e.g., Hostagle).
Go to your hosting dashboard or cPanel.
Look for a section called “Nameservers,” “Account Details,” or “Server Information.”
You’ll find two nameserver addresses that look like:
ns1.hostagle.com
ns2.hostagle.com
Copy these nameservers , you’ll need them in the next step.
Log in to the website where you bought your domain (GoDaddy, Namecheap, Google Domains, etc.).
Go to “My Domains” or “Domain Management.”
Click on your domain name.
Find the “Nameservers” section and click “Edit” or “Change Nameservers.”
Select “Custom Nameservers.”
Delete the old nameservers and enter the new ones:
Save the changes.
Once you save, it takes 24 to 48 hours for the changes to spread across the internet. This is called DNS propagation. During this time, your website may not be accessible or may show old content, that’s completely normal
If you don’t want to change nameservers, for example, if you’re using Cloudflare or another DNS manager, you can connect your domain using an A Record.
Log in to your Hostagle hosting account.
Go to cPanel or your hosting dashboard.
Look for “Server IP Address.” It will be a number like:
103.45.67.89
Log in to your domain registrar.
Go to DNS Settings or DNS Management.
Find the A Record section.
Add a new A Record:
Then add another A Record:
Save the changes and wait 24–48 hours for DNS propagation.

Method | Best For |
Nameservers | Most website owners who want the hosting provider to manage all DNS settings. |
A Record | Users who manage DNS through services like Cloudflare or need custom DNS configurations. |
If you’re a beginner, using nameservers is generally the easiest and recommended option.
After propagation, verify your domain is pointing correctly.
Visit WhatsMyDNS and enter your domain name.
It will show whether your domain is pointing to your hosting server across different locations worldwide.
Or simply type your domain into your browser. If your website or hosting default page loads, your domain has been connected successfully.
Clear your browser cache or try another browser.
Your domain is connected, but your website hasn’t been uploaded yet. Install WordPress or upload your website files through cPanel.
If your website opens without HTTPS after connecting the domain, wait until DNS propagation is complete and then install or activate your SSL certificate from your hosting control panel.
Most beginners should use nameservers instead of manually configuring DNS records. It’s simpler, reduces configuration errors, and allows your hosting provider to manage DNS settings automatically.
Renew both your domain and hosting on time. If either expires, your website will go offline.
Hostagle’s support team can provide your exact nameserver details and help you through the setup whenever needed.
If you buy both your domain and hosting from the same provider, they often connect automatically, saving you time and effort.
Connecting your domain and hosting is a one-time setup and totally doable on your own. Just remember these three things:
Once it’s done, your website will be live and visible to anyone in the world. If you ever get stuck, Hostagle’s support team is just a message away.
Ready to launch your website? Choose reliable Hostagle hosting for fast performance, one-click WordPress installation, free SSL, and expert support to help you get your website online without the hassle.
In most cases, DNS propagation takes between 24 and 48 hours, although many changes become visible within a few hours.
Yes. Simply update your domain’s nameservers or DNS records with the details provided by your Hostagle hosting account.
Nameservers direct your domain to the server where your website is hosted, allowing visitors to access your site correctly.
Accordion
Yes. You can keep the same domain and simply point it to a new hosting provider by updating the nameservers or DNS records.
Content