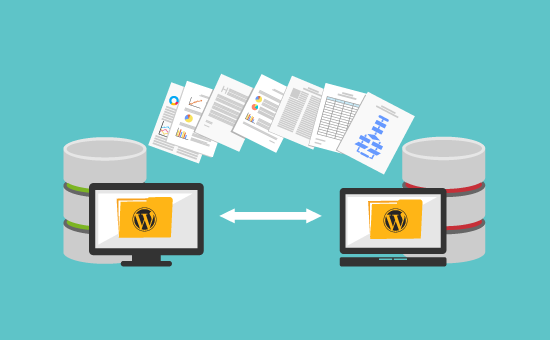
At times, moving your website to a new hosting provider becomes necessary to meet your evolving needs or seek better performance and features. However, website migration can seem daunting. In this step-by-step guide, we will walk you through the process of migrating your website to a new hosting provider, ensuring a smooth transition and minimizing downtime.
- Choose a New Hosting Provider: Research and select a reliable hosting provider that meets your requirements for performance, features, pricing, and customer support. Ensure that the new hosting provider offers a migration service or provides comprehensive documentation and tools for a seamless transfer.
- Backup Your Website: Before proceeding with the migration, perform a full backup of your website files, databases, and any other relevant data. This step ensures that you have a safe copy of your website in case of any unforeseen issues during the migration process.
- Set Up Your New Hosting Account: Create an account with the new hosting provider. Follow their instructions to set up your domain, configure DNS settings, and prepare the environment for your website. Obtain necessary login credentials and access to the control panel or server environment.
- Transfer Website Files: Upload your website files to the new hosting server. This can be done using FTP (File Transfer Protocol), SFTP (Secure File Transfer Protocol), or through the hosting provider’s control panel. Ensure that the file structure is preserved during the transfer.
- Migrate Databases: Export your website’s databases from the current hosting provider and import them into the new hosting environment. This typically involves exporting the database as an SQL file and importing it using a database management tool or the hosting provider’s control panel.
- Configure Email Accounts: If you have email accounts associated with your domain, set up email addresses on the new hosting server. Create email accounts with the same usernames and passwords as before, ensuring a smooth transition for communication.
- Test and Verify Website Functionality: Once the migration is complete, it’s essential to thoroughly test your website on the new hosting provider. Check all pages, forms, functionality, and ensure that everything works as expected. Pay close attention to database-driven applications, scripts, and CMS installations.
- Update DNS and Point Your Domain: After confirming that your website functions correctly on the new hosting provider, update your DNS (Domain Name System) records to point to the new server. This step directs visitor traffic to the new hosting environment. DNS changes typically take some time to propagate globally, so be patient.
- Monitor and Troubleshoot: Monitor your website closely after the migration to identify any potential issues or errors. Test various functionalities, track performance, and ensure that your website remains accessible. Address any post-migration issues promptly, working with the new hosting provider’s support team if needed.
- Cancel Old Hosting Account: Once you have confirmed that the migration is successful and your website is fully functional on the new hosting provider, you can proceed with canceling your old hosting account. Review cancellation procedures and ensure that you retain any necessary backups or data from the previous provider.
Conclusion:
Migrating your website to a new hosting provider may seem complex, but by following this step-by-step guide, you can ensure a smooth transition with minimal downtime. Careful planning, thorough backups, selecting a reliable new hosting provider, transferring files and databases, testing functionality, updating DNS, and monitoring post-migration performance will help you successfully migrate your website and enjoy the benefits of your new hosting environment.


